Yes—increasing your step rate by 5-10% can reduce patellofemoral joint stress by 14-20% and peak knee flexion moment by up to 16%, making it one of the most effective gait modifications for runner’s knee. This works by shortening your stride, lowering vertical impact forces, and decreasing the knee flexion angle at footstrike. Most recreational runners see measurable pain reduction within 3-4 weeks when combining cadence work with targeted hip and knee strengthening.
Why Cadence Affects Knee Loading in Runners
Higher cadence reduces the mechanical stress on your patellofemoral joint—the articulation between your kneecap and femur—by altering two key variables: stride length and ground contact mechanics. When you take more steps per minute, each individual stride shortens, which decreases both vertical oscillation (your body’s up-and-down bounce) and the peak ground reaction force transmitted through your knee. Research by Heiderscheit and colleagues in 2011 demonstrated that a 10% cadence increase reduces patellofemoral stress by approximately 14% and lowers energy absorption at the knee by 16-18%.
Runner’s knee—clinically termed patellofemoral pain syndrome (PFPS)—is the most common overuse injury among distance runners, accounting for 16-25% of all running-related issues. The pain stems from excessive or abnormal loading at the kneecap during repetitive flexion-extension cycles. Two biomechanical factors drive this: excessive knee flexion angle at footstrike (which increases compressive force between the patella and femur) and high impact forces that the joint must absorb with each step. Cadence modification addresses both simultaneously.
Ground contact time decreases by 8-12 milliseconds for every 5% increase in step rate. This shorter contact phase means less time for your knee to flex deeply, which in turn reduces the magnitude of the knee flexion moment—the rotational force your quadriceps must control. Peak ground reaction forces drop by 10-15% with a modest cadence increase, translating directly to lower patellofemoral joint reaction forces. The effect is mechanical and immediate, though motor pattern retention requires consistent practice over 6-8 weeks.
The Biomechanical Link Between Step Rate and Knee Stress
Shorter strides at higher cadence shift loading patterns throughout your kinetic chain, not just at the knee. A 2014 study by Lenhart and colleagues found that a 10% cadence increase reduces peak knee flexion moment by 16%, decreases braking forces by 9-12%, and redistributes some impact absorption toward the ankle and hip joints. This redistribution is generally protective for runners with PFPS, as it spreads stress across a larger musculoskeletal volume rather than concentrating it at a single vulnerable point.
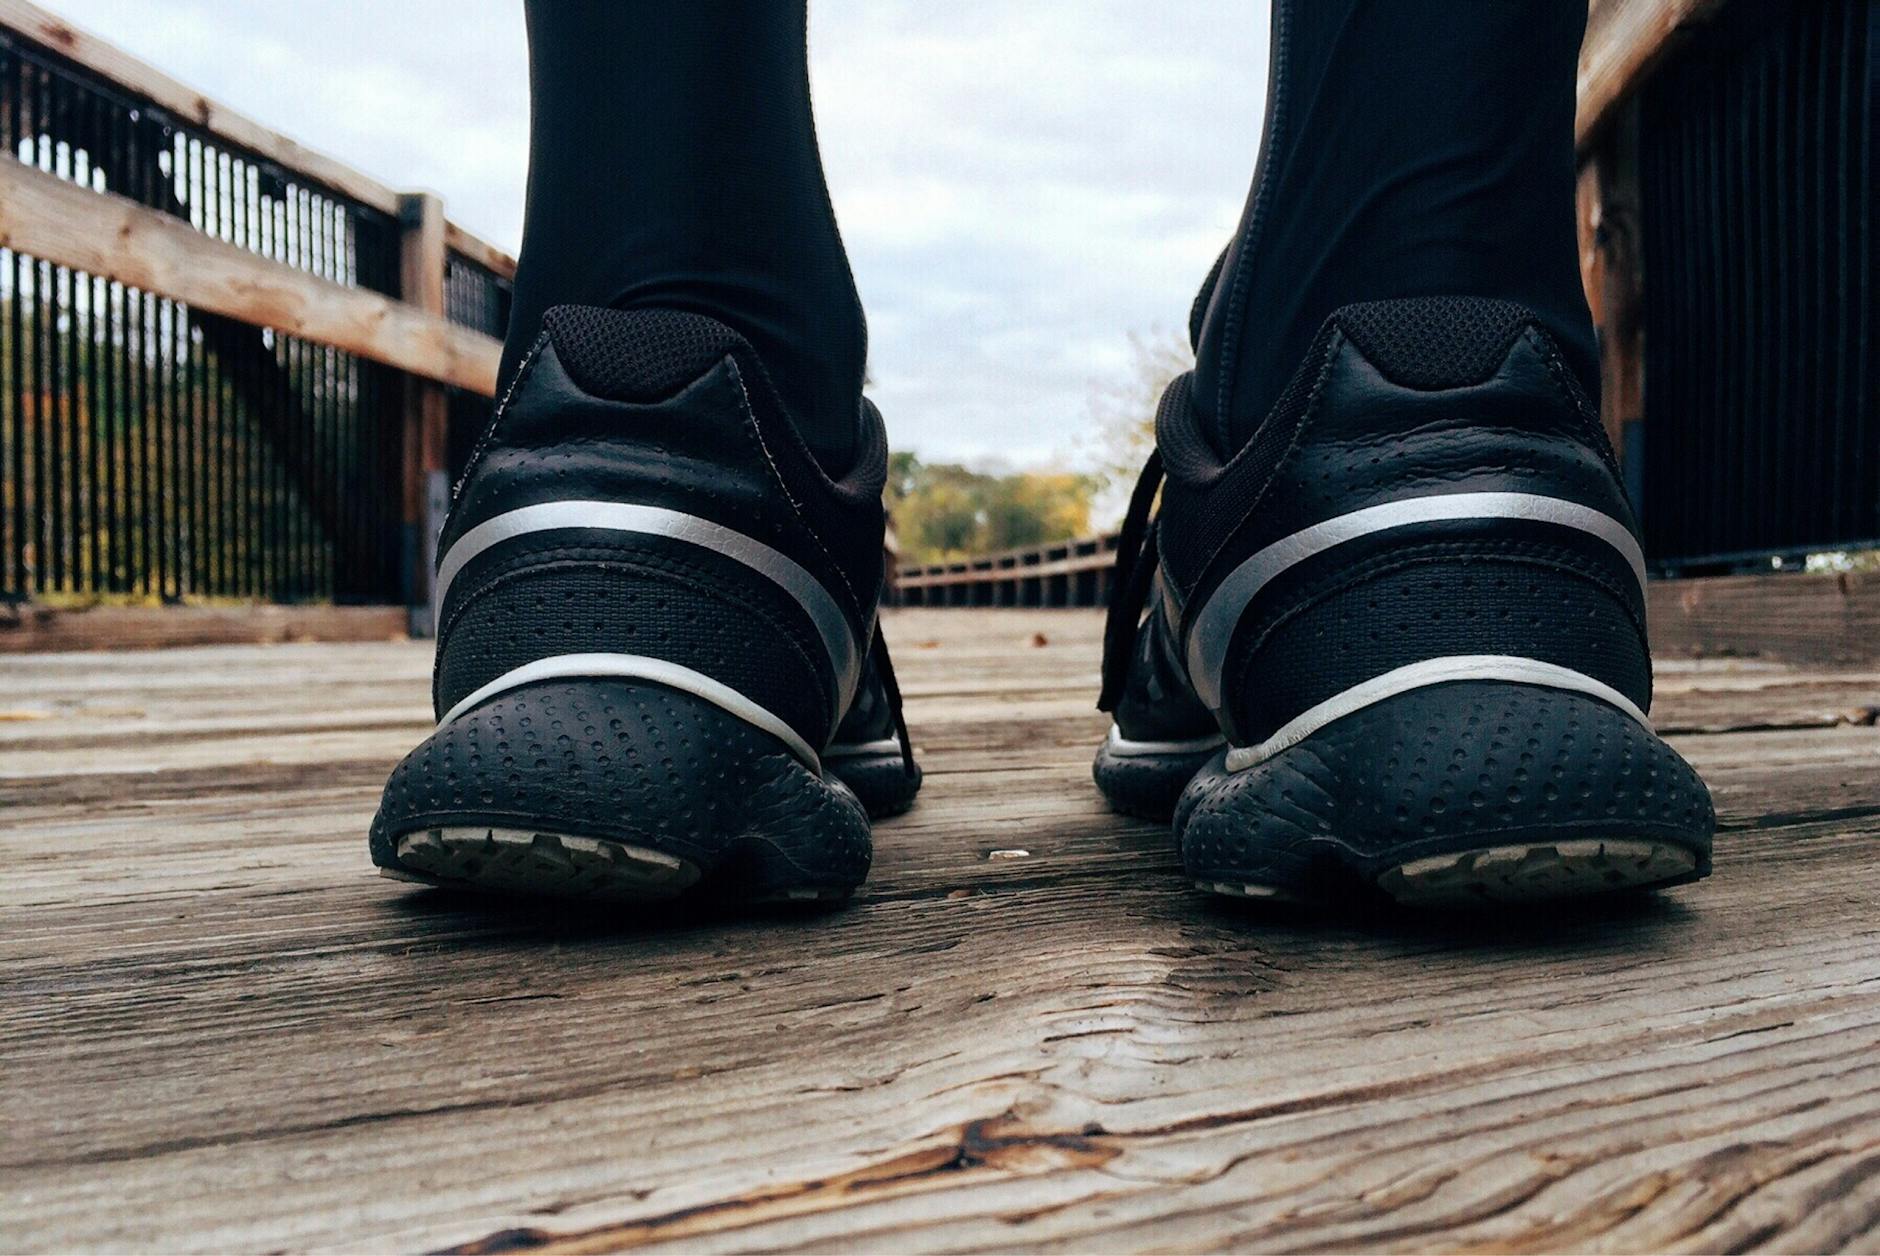
Most recreational runners maintain a natural cadence between 160-170 steps per minute during easy efforts. Elite marathoners average 185-195 spm, but that difference reflects years of neuromuscular adaptation and shouldn’t serve as an immediate target for injury management. For patellofemoral pain reduction, the evidence supports a target range of 175-185 spm for most recreational runners—a 5-10% increase from typical baseline values.
Key biomechanical changes with higher cadence:
- Reduced knee flexion angle at footstrike (typically 3-5 degrees less, which reduces patellofemoral compressive force by 10-15%)
- Shorter stride length (decreases overstriding and forward reach, lowering braking forces)
- Lower vertical oscillation (less “bouncing” means less energy absorbed by joints per cycle)
- Increased step frequency (distributes total weekly impact over more, smaller loading events)
Benefits plateau beyond a 10% increase. Pushing cadence above 190 spm for recreational runners typically increases metabolic cost by 2-4% with minimal additional injury protection, and may shift stress to the Achilles or plantar fascia.
What the Research Shows: Cadence and Patellofemoral Pain
Three landmark studies establish the cadence-PFPS connection. Heiderscheit’s 2011 work at the University of Wisconsin used 3D motion capture to measure joint loading at different step rates. Runners increased cadence by 5% and 10% above baseline while instrumented force plates captured ground reaction forces. The 10% condition produced the 14% reduction in patellofemoral stress mentioned earlier, with benefits appearing immediately during the laboratory session.
Lenhart’s 2014 study, published in Medicine & Science in Sports & Exercise, used musculoskeletal modeling to estimate internal joint forces. This work confirmed that the knee flexion moment—the primary determinant of patellofemoral contact stress—decreased by 16% at +10% cadence. Importantly, the study found individual variation: some runners showed a 20% reduction, others only 5%, likely reflecting differences in baseline mechanics and muscle activation patterns.
Willson and colleagues (2014) conducted an 8-week gait retraining intervention with runners experiencing PFPS. Participants used real-time auditory feedback (a metronome) to increase cadence by 7.5% during all training runs. After 8 weeks, the group reported a 42% reduction in pain during running and a 35% improvement in functional measures like single-leg squat depth. Crucially, gains persisted at 3-month follow-up, indicating successful motor pattern retention.
Timeline for measurable effects:
- Week 1-2: Biomechanical changes (lower impact forces) detectable in lab settings; runners may notice “lighter” footstrike
- Week 3-4: Subjective pain reduction begins; pain onset delayed (e.g., from mile 2 to mile 3)
- Week 6-8: Motor pattern becomes automatic; pain intensity typically reduced by 30-50% in responders
- Week 10-12: Full adaptation; maximum benefit achieved
Not all runners respond equally. Approximately 70% of PFPS cases show clinically meaningful improvement with cadence modification, while 30% require additional interventions like orthotics, footwear changes, or more aggressive strength programming.
How Much Should You Increase Your Cadence?
Start with a 5% increase from your current baseline—if you’re at 165 spm, aim for 173 spm—then reassess after 3 weeks of consistent practice. If tolerated without new pain in the calf or Achilles, consider a second 5% increment. This staged approach allows your musculotendinous system to adapt gradually, reducing the risk of trading knee pain for lower-leg overuse injuries.
Calculate your initial target using this formula: current cadence × 1.05 = new target cadence. Round to the nearest whole number for practical metronome use. Jumping directly to 180 spm or higher without baseline assessment invites trouble—particularly calf strain, Achilles tendinopathy, or plantar fasciitis—because higher cadence often shifts the footstrike pattern anteriorly (toward midfoot or forefoot), increasing eccentric load on the posterior chain.
Three methods to measure cadence:
- GPS watch cadence field – most modern running watches display real-time step rate; check mid-run on easy efforts
- Metronome app – set to target spm and match your footstrike rhythm (both feet counted)
- Manual count – count right-foot strikes for 30 seconds, multiply by 4 to get total spm
Repeat your baseline measurement three times over 5-7 days to establish an average, as cadence naturally fluctuates with fatigue, terrain, and pace. Expect your step rate to drop 2-5 spm when tired or running on technical trails.
Finding Your Current Baseline Cadence
Run at an easy, conversational pace for 10 minutes to settle into your natural rhythm. At the 10-minute mark, count how many times your right foot strikes the ground during a 30-second window, then multiply by 4 to get steps per minute for both feet. Repeat this process on three separate easy runs over the course of a week and calculate the average—this is your baseline.
Avoid measuring cadence during hard workouts or races initially. Step rate typically increases 5-8 spm at tempo pace and 8-12 spm during interval sessions due to natural biomechanical adjustments at faster speeds. You want a representative easy-pace baseline because that’s where you’ll ingrain the new motor pattern before applying it to harder efforts.
Cadence drops predictably in specific contexts: 3-5 spm on moderate hills, 5-8 spm on steep climbs, and 2-4 spm in the final miles of long runs when neuromuscular fatigue accumulates. This is normal physiology, not a training failure. Record the terrain and fatigue state in your training log to interpret fluctuations accurately.
The 5-10% Rule and Why More Isn’t Always Better
Biomechanical benefits follow a dose-response curve that flattens beyond 10% above baseline. A 15% cadence increase offers only marginally greater knee stress reduction than 10%, but metabolic cost rises disproportionately—roughly 2-3% additional oxygen consumption per 5 spm above your optimal rate. This means you’ll fatigue faster for the same training stimulus, potentially compromising workout quality or weekly volume.
Excessive cadence also introduces new injury risk vectors. Higher step rates increase the rate of muscle contraction cycles, raising demand on the calf complex (gastrocnemius and soleus) and Achilles tendon. Runners who increase cadence too aggressively often develop Achilles pain or posterior tibialis tendinopathy within 2-3 weeks. The safe adaptation window is 3 weeks per 5% increment, allowing connective tissue time to remodel and strengthen under new loading patterns.
Elite marathon cadence averages 185-195 spm, but individual optimization varies widely based on leg length, muscle fiber composition, and training history. A recreational runner at 178 spm may experience their personal sweet spot—maximum efficiency with minimal injury risk—while another thrives at 168 spm. The goal isn’t to mimic elites; it’s to find your zone where knee stress decreases without creating new problems.
Red flags that you’ve increased cadence too much:
- New or worsening calf tightness or soreness that persists beyond 48 hours post-run
- Achilles pain during the first steps of the day (morning stiffness)
- Forefoot or metatarsal discomfort, especially if you’ve historically heel-struck
- Increased perceived effort at the same pace, indicating metabolic inefficiency
If any of these appear, hold at your current cadence for 2 additional weeks before progressing.
A Four-Week Protocol to Retrain Your Cadence Safely
This structured 4-week plan gradually integrates your new step rate into routine training while minimizing adaptation stress. The protocol prioritizes motor learning on easy runs first—where cognitive bandwidth and neuromuscular control are highest—before applying the pattern to harder efforts.
Week 1: Select one easy run. Warm up normally for 10 minutes, then activate a metronome set to your +5% target cadence. Run at the new step rate for 10 minutes, focusing on the cue “quick light steps.” Return to your natural cadence for the remainder of the run. Note any new sensations—particularly in the calves or Achilles—in your training log.
Week 2: Increase to two runs per week with 15 minutes each at the new cadence, preceded by a 10-minute warm-up at natural cadence. Begin phasing in an internal cue—visualize “hot coals” underfoot or repeat the phrase “quick feet” silently. These internal cues will eventually replace the metronome.
Week 3: Expand to three runs with 20-25 minutes at target cadence. Start one session without the metronome, relying solely on internal cues, then check your watch’s cadence field mid-run to confirm you’re within 2-3 spm of target. This tests motor pattern retention.
Week 4: Apply the new cadence to all easy runs. Introduce it to your first tempo or interval session—use it for the warm-up and cool-down, then allow cadence to self-select (likely 5-8 spm higher) during hard segments. By week’s end, the rhythm should feel automatic on easy terrain.
Neural adaptation timeline: Motor pattern changes begin within 10-14 days as your central nervous system adjusts muscle activation sequences. However, automatic execution—where you maintain the new cadence without conscious attention—requires 6-8 weeks of consistent practice. Expect occasional regression during fatigued states or distracting runs; this is normal and resolves with additional repetition.
Week 1-2: Introducing the New Step Rate
Focus on short, manageable intervals of 5-10 minutes with auditory feedback from a metronome app. Free options like Soundbrenner or Pro Metronome allow you to set precise BPM (steps per minute) and run with one earbud while maintaining awareness of traffic and surroundings. Match your footfalls to the beat, aiming for a sensation of “tapping” the ground rather than “pushing off.”
After each cadence-focused run, perform 2 minutes of walking followed by dynamic calf stretching: 3×30-second downward dog holds and 2×15 eccentric heel drops off a curb or step. These post-run rituals address the primary adaptation bottleneck—increased demand on the triceps surae (calf muscles). Soreness in the upper calf or mid-Achilles during the first week is common and typically resolves as tissue adapts.
Track your Rate of Perceived Exertion (RPE) on a 1-10 scale during cadence segments. Expect RPE to rise by 0.5-1 point initially as your brain processes the unfamiliar rhythm. This cognitive load diminishes by week 2, and RPE should return to baseline by week 3. If RPE remains elevated beyond week 2, your increment may be too large—drop back by 2-3 spm and stabilize there for another week.
Week 3-4: Extending Duration and Removing the Metronome
Gradually phase out the metronome by running the first 10 minutes with it, then switching it off and relying on kinesthetic memory for the remaining 15-20 minutes. Periodically glance at your watch’s cadence display to gauge drift. Most runners stay within 3-5 spm of target without feedback once the pattern begins to consolidate.
Use internal imagery to sustain rhythm: imagine you’re running on a tightrope (encourages midfoot placement and quick turnover) or visualize gently flicking water off your toes with each step (promotes forward ankle motion rather than pushing backward). These cues engage different motor planning pathways than “take shorter steps,” which often produces a cramped, inefficient shuffle.
By the end of week 4, test automatic retention on a run without any auditory or visual feedback. Don’t check your watch until the 15-minute mark. If you’re within 4 spm of target, your motor pattern is taking hold. If you’ve drifted 6+ spm lower, reintroduce the metronome for one additional week before attempting fully unaided runs.
Combining Cadence Work with Strength Training for Runner’s Knee
Cadence modification reduces the magnitude of stress at the patellofemoral joint, but it doesn’t address underlying strength deficits in the hip abductors, knee extensors, or core stabilizers that contribute to poor movement control. Research consistently shows that gait retraining combined with targeted strength work produces 30-40% greater pain reduction than either intervention alone. Plan to perform strength sessions twice weekly on non-consecutive days throughout your cadence retraining protocol.
Three muscle groups require particular attention for PFPS management: the gluteus medius (hip abductor), which controls femoral internal rotation and knee valgus collapse; the vastus medialis oblique (VMO), the inner quadriceps head that stabilizes patellar tracking; and the hip flexor-core complex, which influences pelvic positioning during stance phase. Weakness in any of these areas increases compensatory knee loading regardless of step rate.
Your twice-weekly strength work for runners should include 3-4 exercises targeting these regions, performed as a 20-25 minute circuit before easy runs or on cross-training days. Prioritize slow, controlled movement over heavy loads initially—motor control and time under tension drive early adaptations more effectively than sheer resistance.
Three Key Exercises to Pair with Cadence Drills
1. Single-leg squat to chair (VMO and glute medius): Stand on one leg in front of a chair or box set at knee height. Slowly lower until your glutes touch the surface—this should take 3-4 seconds—then return to standing without pushing off the surface. The descent (eccentric phase) is critical for VMO recruitment. Your knee should track over your second toe without collapsing inward. Perform 3 sets of 10 reps per leg, resting 60 seconds between sets. Progress by lowering the chair height by 2 inches every 2 weeks or holding a light dumbbell at chest level (start with 5-10 pounds).
2. Hip hikes on step (glute medius endurance): Stand on a 6-8 inch step with your right foot, left foot hanging off the edge. Let your left hip drop below step level, then drive it upward by contracting your right hip abductor—your left hip should rise 2-3 inches above level. Hold the top position for 1 second. This isolates the gluteus medius without allowing hip flexor or lateral trunk lean compensation. Perform 3 sets of 15 reps per side. Progress by slowing the tempo (2 seconds up, 2 seconds down) or adding an ankle weight to the non-stance leg (2.5-5 pounds).
3. Banded lateral walks (hip abductor activation): Place a resistance loop band around both legs, just above the knees. Adopt a quarter-squat position (knees bent 30-40 degrees). Step laterally 10 steps to the right, maintaining constant tension on the band, then 10 steps back to the left. Your knees should never collapse inward—think “knees out” throughout. Complete 3 sets of 20 total steps (10 each direction). Progress by using a heavier band or widening your stance to increase tension.
Perform this circuit on Tuesdays and Fridays if you’re following a Monday/Wednesday/Saturday/Sunday running schedule, for example. The exercises require minimal equipment (a chair, a step, and a $10 resistance band) and take 20-25 minutes including rest intervals.
When to Expect Results and How to Track Progress
Subjective pain reduction typically begins in week 2-3, with most runners reporting that pain onset delays—for instance, knee discomfort that previously started at mile 2 might not appear until mile 3-4. Peak improvement occurs around week 8-10 when both motor pattern retention and strength adaptations mature simultaneously. Don’t expect linear progress; some weeks show dramatic gains while others plateau.
Track three key metrics weekly:
- Pain intensity (0-10 scale): Rate your worst knee pain during each run immediately post-effort. A 2-point reduction is clinically meaningful.
- Distance to pain onset: How many miles can you complete before discomfort begins? This often improves before intensity rating changes.
- Cadence retention: Mid-run cadence check without metronome. Are you staying within 3 spm of target automatically?
Keep a simple training log—digital or paper—with columns for date, distance, average cadence, pain rating, and notes (terrain, weather, unusual fatigue). After 4 weeks, review trends. If pain intensity hasn’t improved by at least 1 point or distance to onset hasn’t increased by 15-20%, consider consulting a physical therapist for additional assessment. You may have coexisting issues (weak foot intrinsics, limited hip internal rotation) that require targeted intervention.
Most runners following this combined protocol see 40-60% pain reduction by week 8, with continued gradual improvement through week 12-16 as strength and motor patterns fully consolidate.
Common Mistakes When Increasing Cadence for Knee Pain
Mistake 1: Jumping directly to 180 spm without assessing baseline. Many runners have read that “180 is optimal” and immediately set their metronome there, regardless of natural cadence. A runner at 162 spm attempting 180 spm represents an 11% increase—well beyond safe adaptation limits. This frequently causes Achilles tendinopathy within 2-3 weeks. Always calculate your personal 5% target first.
Mistake 2: Only using higher cadence during hard workouts. Some runners mistakenly believe cadence work is reserved for tempo runs or intervals. In fact, motor learning happens most effectively during low-cognitive-load situations—easy runs where you can focus on rhythm and form cues. Ingrain the pattern on easy days first; it will then transfer naturally to faster efforts without conscious attention.
Mistake 3: Ignoring complementary strength work. Cadence reduces load, but it doesn’t fix weak gluteus medius or poor VMO activation. Without addressing strength deficits, you may see 20-30% improvement then plateau, whereas combined intervention typically yields 50-70% improvement. Budget 40-50 minutes weekly for the strength circuit outlined earlier.
Mistake 4: Abandoning the protocol after 3 weeks. Motor pattern retention requires 6-8 weeks of consistent practice. Many runners feel better at week 3, assume they’re “fixed,” and revert to old habits. The new pattern isn’t yet automatic at this point—reverting to baseline cadence often causes pain to return within 10-14 days. Commit to the full 8-week protocol even if symptoms improve early.
Mistake 5: Forcing high cadence on trails or steep hills. Cadence naturally drops 3-5 spm on inclines and technical terrain due to shorter stride length requirements and increased vertical displacement per step. Trying to maintain flat-ground cadence on a 6% grade usually produces an awkward, choppy shuffle that increases injury risk. Let step rate self-adjust on hills; focus instead on maintaining rhythm and forward momentum.
What If Higher Cadence Doesn’t Resolve Your Runner’s Knee?
Approximately 30% of PFPS cases don’t fully resolve with cadence modification alone, indicating additional contributing factors. Before concluding that higher cadence “doesn’t work,” ensure you’ve given the intervention adequate time—minimum 6-8 weeks with consistent practice—and paired it with appropriate strength training. If pain persists or worsens despite proper implementation, consider these complementary interventions.
Footwear assessment: Running shoes with inadequate cushioning or inappropriate heel-to-toe drop can exacerbate PFPS. Runners with patellofemoral pain often benefit from shoes with 8-10mm drop and moderate cushioning (neither minimalist nor maximally cushioned). Visit a specialty running store for gait analysis if you haven’t been professionally fitted within the past year. Worn-out shoes (over 400-500 miles) lose impact absorption capacity and should be replaced.
Running surface modification: Concrete sidewalks and roads generate 20-30% higher peak ground reaction forces than asphalt, dirt trails, or synthetic tracks. If you exclusively run on concrete, try shifting 50% of weekly volume to softer surfaces for 4 weeks to assess impact. This doesn’t mean abandoning roads entirely—excessive trail running introduces other risks—but strategic surface variation can reduce cumulative joint stress.
Hip and ankle mobility work: Limited hip internal rotation (less than 30 degrees) or ankle dorsiflexion (less than 10 degrees with knee extended) alter lower-limb kinematics in ways that increase patellofemoral stress. Daily mobility work—90/90 hip stretches, ankle dorsiflexion mobilization with a band—can address these restrictions. This complements injury prevention guides focused on movement quality.
Strategic volume reduction: Sometimes the issue isn’t biomechanics but cumulative load exceeding recovery capacity. Reduce weekly mileage by 20-30% for 2 weeks while maintaining frequency (same number of runs, shorter duration). This relative rest period allows tissue healing while preserving aerobic fitness. If pain improves significantly during reduced volume, you’ve identified a training load problem rather than a pure mechanical issue.
When to consult a physical therapist:
- Pain persists beyond 8 weeks despite cadence modification and strength work
- Pain occurs during non-running activities (climbing stairs, prolonged sitting, squatting)
- Swelling around the kneecap, particularly after runs
- Clicking, catching, or locking sensations in the knee
- Pain shifts to other areas (hip, ankle, opposite knee) as cadence adaptation progresses
A licensed PT can perform detailed biomechanical assessment, identify specific muscle imbalances, and prescribe targeted manual therapy or dry needling if indicated. Most PFPS cases resolve with conservative management within 12-16 weeks, but individualized intervention accelerates recovery and reduces recurrence risk.
Frequently Asked Questions
How much does increasing cadence reduce knee stress?
A 10% increase in step rate—from 160 to 176 steps per minute, for example—reduces patellofemoral joint stress by approximately 14-20% and peak knee flexion moment by up to 16%. This happens because shorter strides lower vertical impact forces and decrease the knee flexion angle at footstrike. Most recreational runners see measurable biomechanical improvements with a 5-10% cadence increase, typically within 2-4 weeks of consistent practice.
What is the ideal cadence to prevent runner’s knee?
There is no single ideal cadence for all runners. Research suggests that increasing your natural cadence by 5-10%—rather than targeting an arbitrary number like 180 spm—offers the best balance of injury reduction and metabolic efficiency. For most recreational runners, this means moving from a baseline of 160-170 spm to a target range of 168-185 spm. Elite marathoners average 185-195 spm, but trying to match that overnight often leads to calf or Achilles issues.
How long does it take to retrain cadence and see knee pain improvement?
Motor pattern changes begin within 2 weeks of consistent practice, but full retention and automatic execution require 6-8 weeks. Most runners with patellofemoral pain report noticeable improvement—reduced pain intensity or delayed pain onset—by week 3-4 of a structured cadence retraining protocol. Research shows that combining cadence work with hip and knee strengthening exercises accelerates results, with peak benefit appearing around week 8-10.
Can increasing cadence cause other injuries?
Yes, if increased too quickly. Jumping to a much higher cadence without gradual adaptation can overload the calves, Achilles tendon, and forefoot, especially in runners accustomed to heel striking. The safest approach is a 5% increase every 3 weeks, paired with eccentric calf strengthening (heel drops, 2×15 reps post-run). Monitor for new soreness in the calf or Achilles during the first two weeks. If pain develops, hold at your current cadence for another week before progressing.
Should I use a metronome for every run when retraining cadence?
Only during the first 3-4 weeks. Use a metronome or music with a target BPM for 10-20 minutes per run initially, then gradually phase it out as the new rhythm becomes automatic. By week 4, you should be able to maintain the higher cadence using internal cues like “quick light steps.” Check your cadence mid-run without the metronome every few days to confirm retention. Once ingrained, most runners maintain the new pattern naturally, though fatigue or terrain changes may drop it by 2-5 spm.
Does higher cadence work for all types of runner’s knee?
Cadence modification is most effective for patellofemoral pain syndrome (PFPS), the most common form of runner’s knee caused by excessive loading at the kneecap. Studies show approximately 70% of PFPS cases improve with gait retraining. However, if your knee pain is due to IT band syndrome, meniscal issues, or patellar tendinopathy, cadence adjustments may help but are less likely to resolve symptoms fully. Persistent pain beyond 8 weeks of modification, or pain accompanied by swelling or locking, warrants evaluation by a physical therapist.
Can I increase cadence while running on trails or hills?
Yes, but expect your cadence to naturally drop by 3-5 spm on inclines and technical terrain—that’s biomechanically normal and not a sign of failure. Focus on ingraining the higher cadence on flat, easy road runs first. Once it feels automatic there (usually by week 4-6), you can apply the same “quick feet” cue on trails. Don’t force an unnaturally high step rate on steep climbs; shortening stride and maintaining rhythm is more important than hitting a specific number.
Leave a Reply