

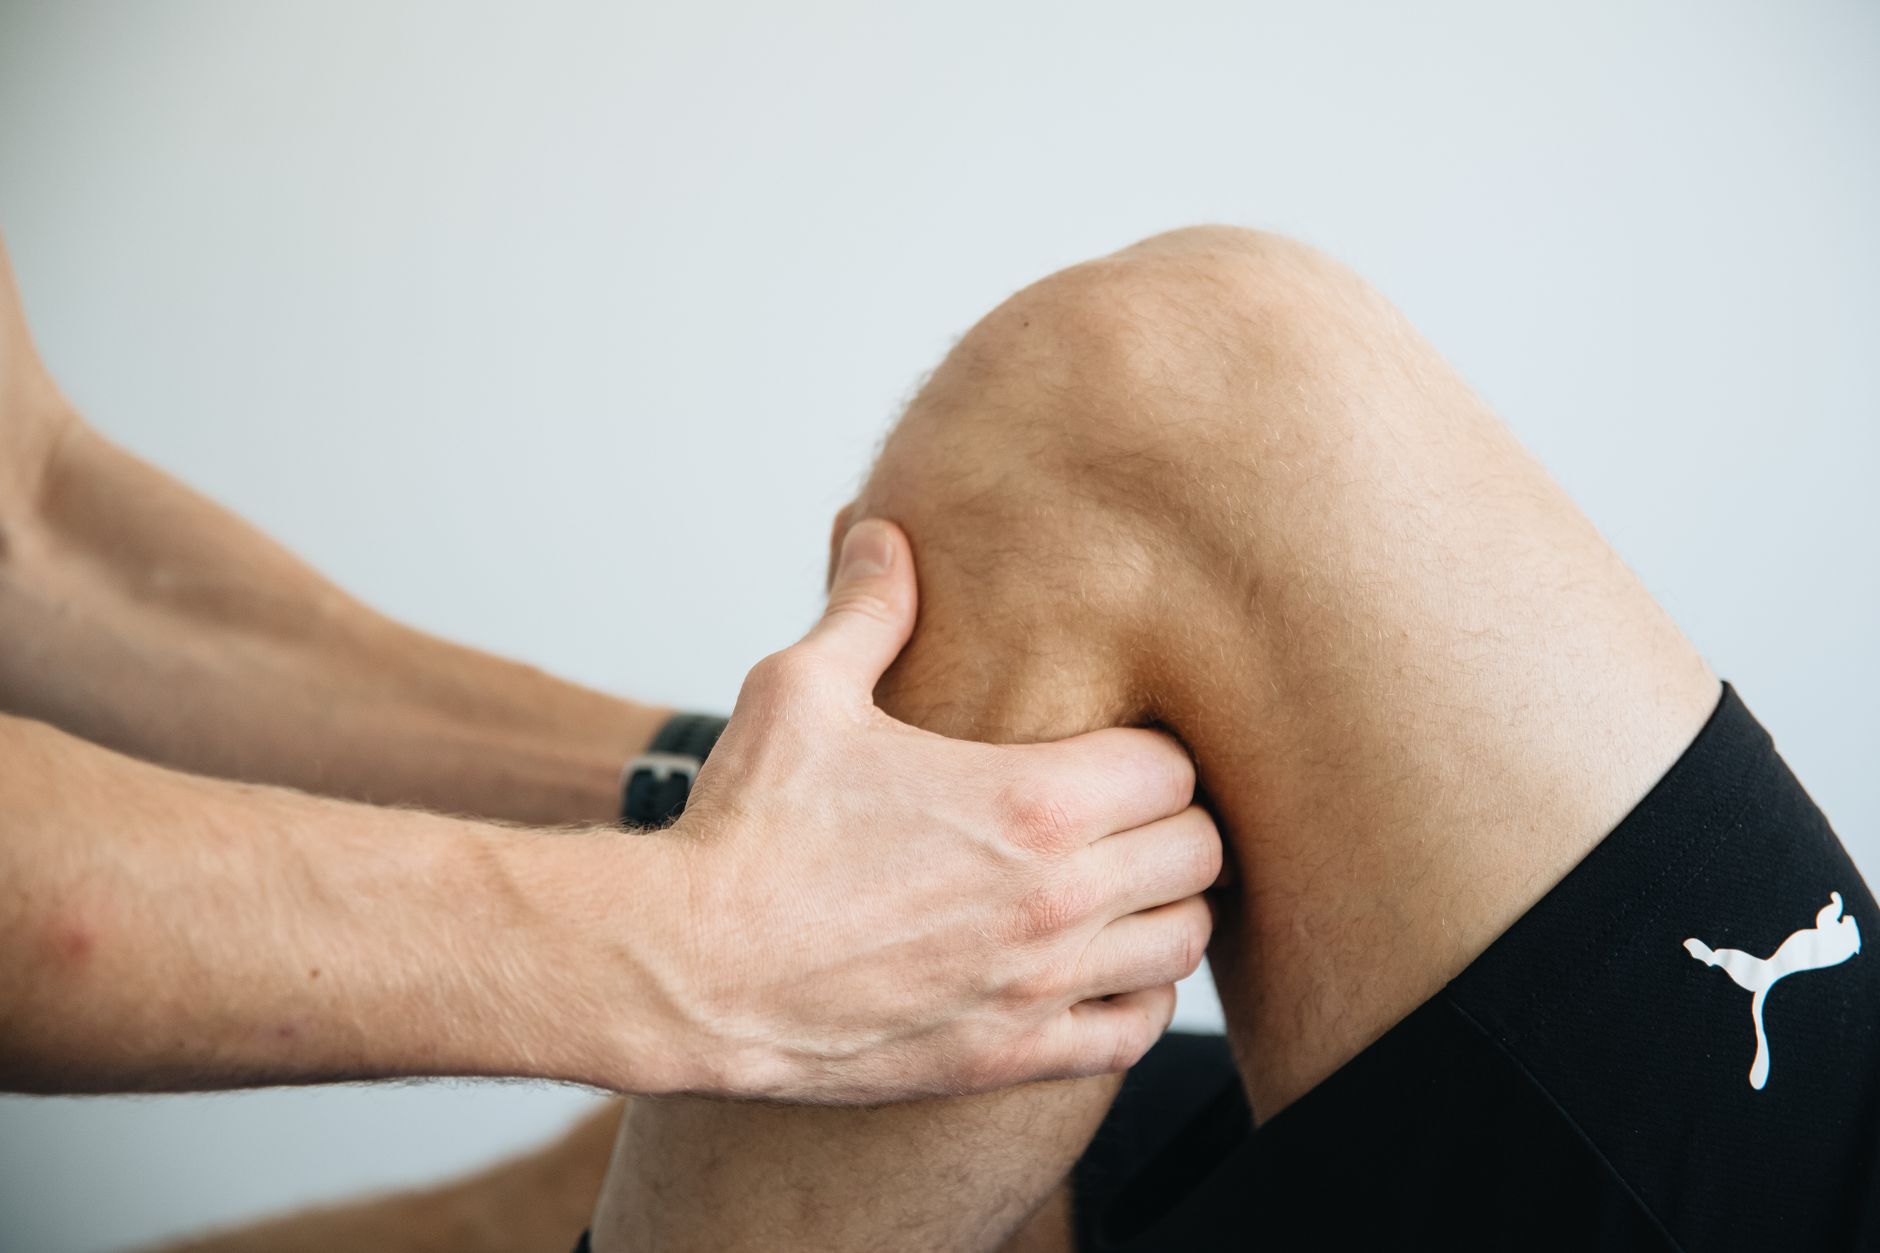
Runner’s knee—patellofemoral pain syndrome (PFPS)—responds best to a three-phase rehab protocol targeting patellar mobility, VMO (vastus medialis oblique) strengthening, and hip stability. Research shows that combining quad and hip exercises cuts median recovery time from 10 weeks to approximately 7 weeks, with most runners returning to pain-free training within 6–8 weeks when following evidence-based progressions that address the biomechanical root causes rather than symptoms alone.
What is runner’s knee and why do traditional quad exercises often fail?
Patellofemoral pain syndrome accounts for roughly 40% of all running injuries and stems from poor patellar tracking—the kneecap moves laterally or tilts during knee flexion, increasing cartilage friction and pain around or behind the patella. The culprit is usually a strength imbalance: a weak VMO oblique fails to counterbalance the pull of the vastus lateralis (outer quad), while tight lateral structures and hip weakness allow the femur to rotate inward during stance phase. This combination creates a high Q-angle (the angle between the quad and patellar tendon), which compounds maltracking.
Standard leg extensions and basic squats often fail because they don’t address the hip control deficit. A 2024 British Journal of Sports Medicine meta-analysis found that rehab protocols emphasizing hip abductor and external rotator strengthening reduced pain 30% faster than quad-only programs. EMG studies reveal that runners with PFPS activate the VMO 50–80 milliseconds slower than the lateral quad, allowing the patella to drift before stabilization kicks in. Effective rehab must restore this timing and rebuild the quad-to-hip strength ratio—ideally achieving a VMO-to-vastus-lateralis ratio above 0.9 and hip abduction strength within 10% of the uninvolved side.
The key insight: runner’s knee is a system problem. Fixing it requires coordinated work on patellar mobility, VMO recruitment, and proximal (hip) control, sequenced to let tissue adapt without flare-ups.
Phase 1: Pain control and patellar mobility (Days 1–14)
The first two weeks focus on reducing inflammation and restoring normal patellar excursion—the kneecap should glide approximately 5 millimeters in medial, lateral, and superior directions. Start with seated patellar glides: sit with your knee bent to 30°, use your thumbs to push the patella medially, laterally, and superiorly, holding each direction for 2 seconds. Perform 3 sets of 20 repetitions twice daily. Pair this with a prone quad stretch (lie face-down, pull your heel toward your glute, hold 30 seconds for 3 sets) to address rectus femoris tightness that tilts the patella.
Add isometric terminal knee extension: sit with a rolled towel under your knee (creating about 15° of flexion), press the back of your knee into the towel while contracting your quad, and hold for 5 seconds. Do 10 repetitions, 3 times per day. This exercise activates the VMO without compressive load. Ice for 15 minutes immediately after any activity that provokes symptoms.
Pain scale rule: Keep discomfort at or below 3 out of 10 during all movements. If an exercise pushes pain above that threshold, reduce range of motion or resistance. This phase primes the joint for loading; rushing it leads to chronic irritation and delayed timelines.
Patellar mobilization technique: the 3-direction glide
Mobilization restores the mechanical slack needed for smooth tracking. Sit with your knee bent roughly 30° (a small towel roll works well). Use both thumbs to apply gentle pressure:
- Medial glide: Push the patella toward the inside of your knee.
- Lateral glide: Push outward (this often feels tighter in PFPS).
- Superior glide: Push the kneecap upward toward your hip.
Perform 20 glides in each direction, twice daily. The goal is to feel the patella move freely approximately 5 millimeters in each plane. If you encounter a hard stop or sharp pain, ease off and focus on pain-free range. Consistency beats force—two weeks of daily glides typically restores baseline mobility and prepares the joint for loaded exercise.
Phase 2: VMO activation and hip stability (Weeks 3–6)
Once pain is controlled and patellar mobility is restored, shift to strengthening the stabilizers. Terminal knee extension with a resistance band becomes your primary VMO builder: anchor a looped band behind you at knee height, step into it so the band pulls your knee into slight flexion, then extend your knee fully against the resistance. Keep your toes pointed outward about 15° to maximize VMO recruitment. Perform 3 sets of 15 repetitions, 4 times per week.
Add single-leg bridges (lie on your back, one foot flat, the other leg extended; drive through your heel to lift your hips, hold 2 seconds at the top, lower slowly) for 3 sets of 12 per leg. Clamshells with a resistance band around your thighs (lie on your side, knees bent, lift the top knee while keeping feet together) target the hip external rotators—3 sets of 20 per side.
The cornerstone movement is the step-down from a 4-inch box: stand on a low step, slowly lower the opposite heel toward the floor over 3 seconds (eccentric phase), then return to start. Your goal is 3 sets of 10 per leg with perfect form—knee tracking over your second toe, pelvis staying level, no inward knee collapse. If you can access EMG biofeedback, aim for a VMO-to-VL ratio above 0.9; without it, use the step-down as your functional screen.
Frequency matters: perform this Phase 2 circuit 4 times per week, ideally on easy run or rest days. Research shows that twice-weekly strength work maintains gains, but four sessions per week during rehab accelerates VMO hypertrophy and neuromuscular re-patterning.
Why the step-down is the gold-standard movement screen
The single-leg step-down reveals dynamic valgus (knee caving inward), hip drop, and foot pronation—the exact chain that overloads the patellofemoral joint during running. A 2025 Journal of Orthopaedic & Sports Physical Therapy study found that runners who passed a standardized step-down test (no knee collapse, pelvis level, controlled 3-second descent) returned to pain-free running an average of 3 weeks earlier than those who couldn’t.
Coaching cues: keep your knee in line with your second toe throughout the descent, engage your glutes to prevent hip drop, and lower slowly—speed hides compensations. Video yourself from the front; if your knee dives medially past your midfoot, regress to double-leg squats or reduce step height to 2 inches until you can control the pattern. Passing this test signals readiness for plyometric and running progressions.
Phase 3: Return-to-run progression (Weeks 7–10)
Before resuming continuous running, build reactive strength through low-level plyometrics. Start with double-leg hops in place (2 sets of 20), then progress to single-leg hops for distance (2 sets of 8 per leg, focusing on soft landings), and lateral skater hops (2 sets of 12, emphasizing hip stability on landing). These movements load the patellofemoral joint at 3–4× body weight—similar to running—while allowing you to monitor form and pain response in a controlled setting.
Running reintroduction follows a walk-jog interval protocol: alternate 2 minutes of walking with 1 minute of easy jogging for a total of 20 minutes, 3 times in the first week. Pain should remain at or below 2 out of 10 during the run and the following morning. If you meet that threshold, progress to 1:1 walk-jog ratios in week two, then continuous 20-minute easy runs in week three. Add 10% volume per week, capping weekly mileage increases and monitoring the 24-hour pain response closely.
Critical: continue VMO and hip strengthening twice weekly indefinitely. This isn’t a “fix and forget” injury—maintenance strength training for runners prevents recurrence by sustaining the neuromuscular patterns and strength ratios you’ve built.
The 24-hour pain rule: when to regress volume
If knee pain rises above 3 out of 10 the morning after a run, cut your next session’s volume by 30%. For example, if a 30-minute run causes a 4/10 pain rating the next day, drop to 20 minutes for your next outing. If this happens twice in one week, pause running and return to Phase 2 exercises for 5–7 days to rebuild tolerance.
This rule balances progressive loading with tissue capacity. Research on tendon and cartilage adaptation shows that moderate, sub-inflammatory stress stimulates remodeling, but repeated high-pain sessions cause microtrauma accumulation and delay healing. The 24-hour window is key—immediate post-run soreness is normal; sustained next-day pain signals overload. Track your pain scores in a training log; patterns emerge quickly and guide decision-making better than gut feel.
Long-term prevention: the weekly strength minimum
Runner’s knee recurrence rates drop by approximately 40% when runners maintain at least two strength training for runners sessions per week post-rehab, according to 2026 running injury surveillance data. The goal is not endless volume but consistent reinforcement of VMO activation and hip control.
Your maintenance menu should include:
- Single-leg Romanian deadlifts (3 sets of 8 per leg): builds hip stability and posterior chain strength.
- Copenhagen planks (3 sets of 20 seconds per side): targets hip adductors, which stabilize the pelvis during stance phase.
- Step-downs (2 sets of 10 per leg): the movement screen becomes the maintenance drill.
Schedule these on easy run days or rest days, never immediately before hard workouts or long runs. Fatigue degrades motor control, increasing injury risk. Pairing strength with low-intensity running also improves neuromuscular transfer—your body learns to recruit the VMO and glutes during actual running mechanics rather than in isolation.
Runners who treat strength work as optional see PFPS return within 6–12 months at rates exceeding 50%. Those who embed twice-weekly sessions into their training calendar sustain the biomechanical corrections that resolved the issue in the first place. Think of it as running injury prevention insurance: two 20-minute sessions per week cost far less than another 8-week rehab cycle.
Frequently Asked Questions
How long does runner’s knee rehab take?
Most runners see significant pain reduction in 6–8 weeks following a phased rehab protocol that progresses from patellar mobility to VMO strengthening to dynamic hip stability. A 2025 meta-analysis found that combining quad and hip exercises cut median recovery time from 10 weeks (quad-only) to 7 weeks. Returning to full mileage typically takes 10–12 weeks if you follow the 24-hour pain rule and maintain ≤3/10 discomfort during activity.
Can I keep running with runner’s knee during rehab?
Yes, but modify volume and intensity using the 2/10 pain scale rule: if pain during or immediately after a run exceeds 2 out of 10, reduce distance by 30–50%. Cross-training (cycling, pool running) can maintain aerobic fitness without loading the patella. Research shows complete rest often delays recovery because controlled loading stimulates cartilage adaptation. Pair every run with same-day VMO and hip strengthening for best outcomes.
What is the VMO and why does it matter for runner’s knee?
The vastus medialis oblique (VMO) is the teardrop-shaped quad muscle above your kneecap that pulls the patella medially during knee extension. Weakness or delayed activation allows lateral patellar tracking, increasing cartilage friction and pain. EMG studies show runners with PFPS activate the VMO 50–80 milliseconds slower than the lateral quad. Terminal knee extension exercises with toes pointed outward preferentially recruit the VMO and restore balanced tracking within 4–6 weeks.
Should I use a knee brace or kinesiology tape for runner’s knee?
A simple patellar strap (worn below the kneecap) can reduce pain by 20–30% during activity by offloading the patellar tendon, but it doesn’t address underlying weakness. Kinesiology tape applied in a medial glide pattern may improve proprioception and VMO activation short-term. Neither replaces targeted strengthening. A 2024 Cochrane review found braces and tape effective for symptom management during the first 2–3 weeks of rehab but offered no long-term benefit without concurrent exercise.
What’s the difference between runner’s knee and IT band syndrome?
Runner’s knee (patellofemoral pain syndrome) causes pain around or behind the kneecap, worsened by stairs, squatting, and downhill running. IT band syndrome produces sharp lateral knee pain, typically during the mid-stance phase of running. PFPS stems from patellar maltracking; ITBS from friction over the lateral femoral condyle. Both benefit from hip abductor strengthening, but PFPS requires VMO work and patellar mobility, while ITBS responds better to foam rolling the TFL and glute medius activation.
Which exercises should I avoid if I have runner’s knee?
Avoid deep squats below 90°, kneeling, and high-impact plyometrics (box jumps, burpees) during the first 4 weeks—they increase patellofemoral compression force up to 7× body weight. Leg extensions with heavy weight can aggravate symptoms if VMO activation is poor. Downhill running and stairs should be minimized until step-down tests show no dynamic valgus. Reintroduce these movements gradually in Phase 3 once pain is consistently ≤2/10 and single-leg strength is symmetrical.
Leave a Reply